
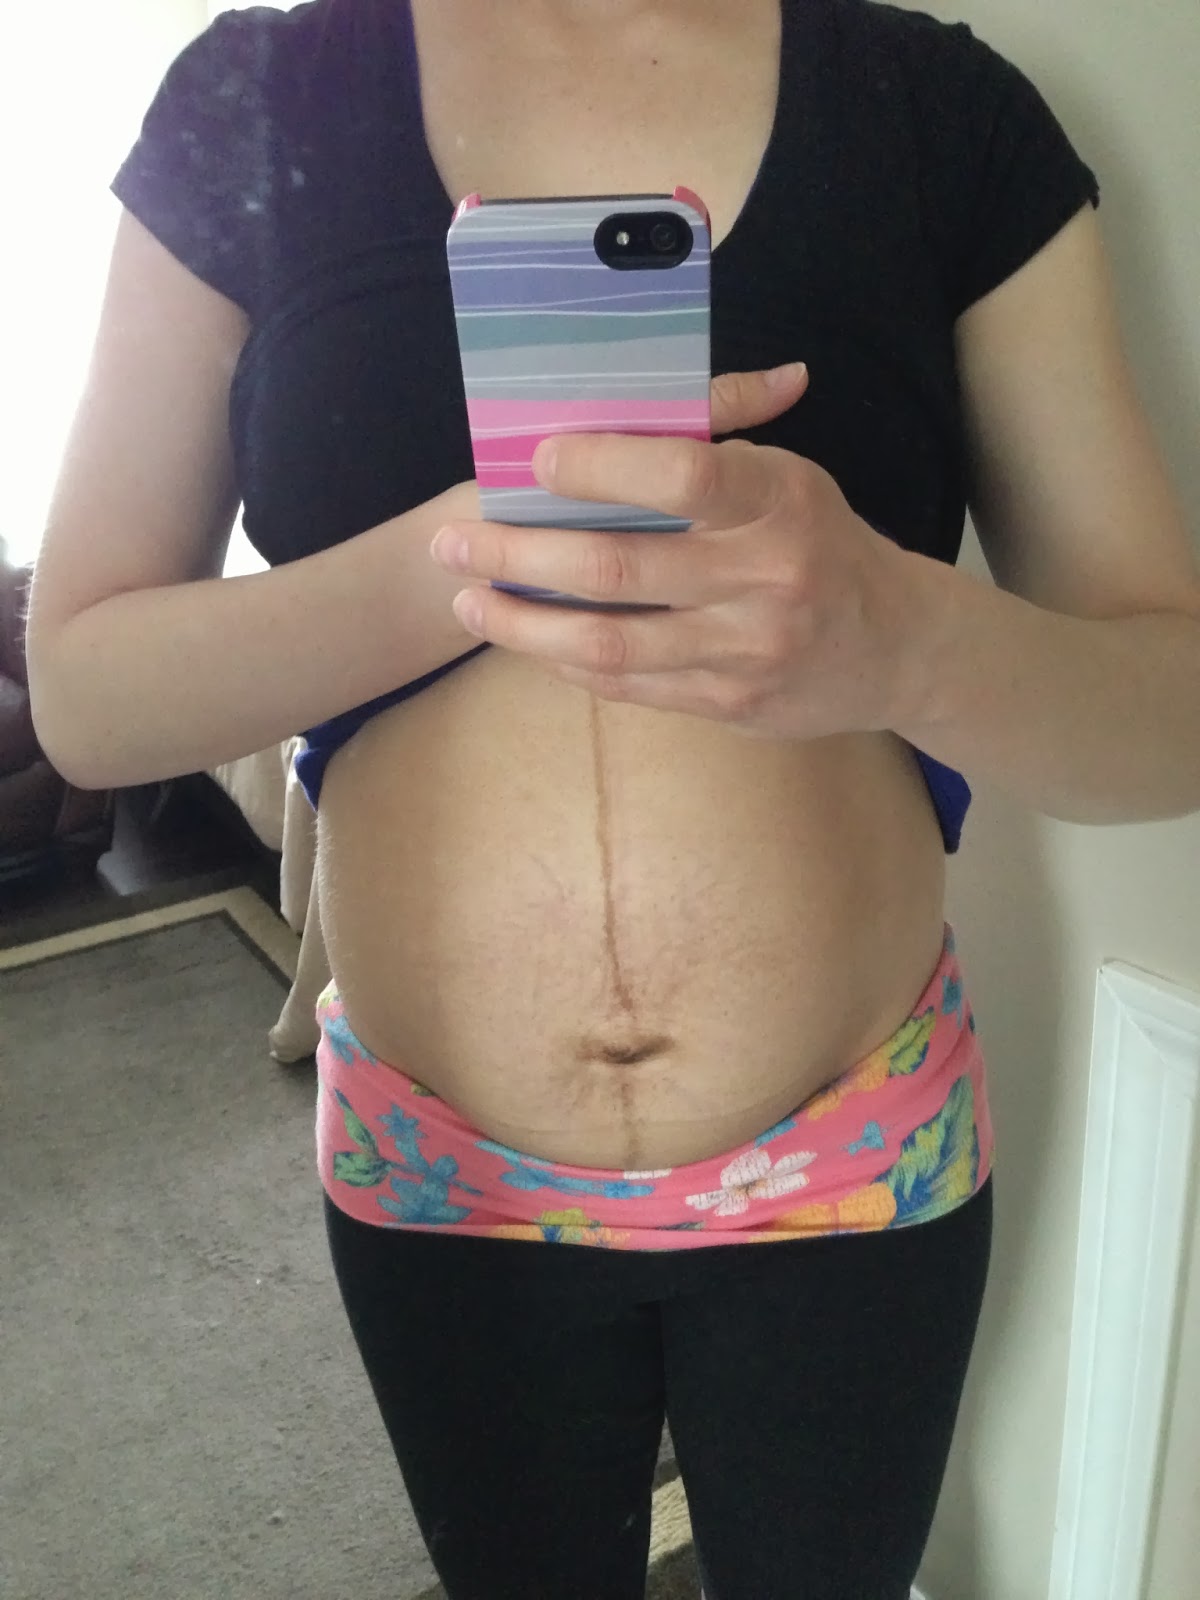
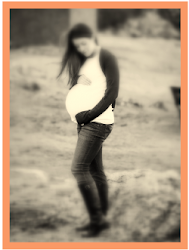
In the weeks that followed my c-section, I frantically searched the web for anything that could help me with my bloated looking "mommy tummy". Sure it was only a few weeks post the birth of my son, but I was not at all used to having a saggy belly and I was not content to just wait and see what happened. I took matters into my own hands and I am so glad that I did.
Those early internet searches yielded me things like the Tupler Technique and Complete Motions. I am not going to discount sites like these because they may in fact help women overcome issues with diastasis recti. The problem that I found with them was that they charge you an arm and a leg to do so. I was not willing to spend a bunch of money on some DVDs that I would most likely never use, so I continued searching for a different answer.
Instead of shelling out a ton of money, I sought out the help of a physical therapist (which my health insurance covered) many weeks ago and it was one of the best decisions that I made. My physical therapist was amazing. When I first started seeing her my abdominal separation was about 4 fingers or more apart. This was considered by my OB to be a serious separation that could only be fixed with surgery. My PT convinced me that I could make great strides towards a recovery, without surgery. I was more than willing to give it a try.
I met with her only a few times, but in those meetings she gave me exercises and encouragement that I so desperately needed. She encouraged me to share the exercises that she gave to me with my friends, so this is what I am going to do, friends. No large amounts of money required. I am going to break it up into a few different posts, the first being recovery exercises by land, the second being recovery by water, and the third being prevention (which I WISH I would have known when I was pregnant). Enjoy!
What is diastasis recti?
I had never heard of this before or during my pregnancy. It was only after, when I Googled my symptoms that I discovered it. Basically what happens is, as the baby grows inside your uterus, it pushes on the abdominal muscles. If your abdominal muscles are not especially strong, the pressure from the growing baby will push them apart, causing a separation. The separation looks much worse after pregnancy and looks like an unsightly bulge, which in my opinion, makes one look like they are still several months pregnant.
The Mayo Clinic website describes the conditions that make diastasis recti more likely during pregnancy:
- If you are over 35 years old
- If you are pregnant with multiples
- If you are pregnant with a larger baby (the case for me!)
- If you are on your 2nd, 3rd, etc. pregnancy
- If you engage in intense abdominal exercises after the first trimester

Diastasis recti recovery by land (part 1)
First things first, I am not a doctor or physical therapist myself and I am not claiming to be either of those. I am simply letting you all know what I did and what seemed to work for me. I hope that this also works for you and would love to hear from you if you try it and experience some success, like me.
The first thing I think that you should do before you try out any exercises is to purchase and use an abdominal binder. I know this is controversial, but I really think that it helped me for so many reasons. Post c-section, coughing, sneezing, laughing, etc., hurts. Having the binder on gave me some support and made those (sometimes uncontrollable) actions hurt less. They also helped with my self-esteem. There is nothing like looking 6 months pregnant when you aren't pregnant anymore.
I purchased a few different binders, which I'll review very quickly.
The Babies R Us Post Partum Support - This was the first one that I used starting from a few days after I gave birth. It was not very comfortable, but it served its purpose, I suppose. It was also quite cheap. I wore it only during the day in the first few weeks because it was so tight. It made me feel much more confident about going out in public with anything other than a sweatshirt on. It started to fall apart after a few weeks, though, and began to bunch and look rather lumpy under my clothes.
The Medela Postpartum Support - I purchased this support to wear at night because it looked much more comfortable. It was. It wasn't as tight or bulky/bunchy. The problem with this one was that when I started to shrink in the stomach area, the support, which was a size small, became too big and useless.
The Fit Splint - This support was the most expensive that I bought, but undoubtedly the best. I bought it to wear in my early days of running. It made my stomach feel secure and stopped the annoying jiggle during jogging. The only bad thing about it was that it was neoprene and while this made it fairly invisible under clothing, it also made it terribly hot. It also chaffed my stomach the first time I wore it. My PT encouraged me to wear this while engaging in some of my exercises.
On to the exercises...
Once I got the OK from my OB to start any exercises (a little over 6 weeks postpartum), I started with my PT. The first few exercises she gave me sound really easy, but they were really hard for me at first. My old, in-shape, self mentally thought I could do them, but physically it was a whole lot tougher. It was so frustrating. Here are the first few exercises that I completed:
1. Find neutral pelvis position. To do this, lay on your back, place your hands on your stomach, and pull your naval to the floor (tilt your pelvis upward). Find the position where your hands are parallel to the floor. This is the position that I did many of the below mentioned exercises.
2. Kegels. Hate these. Absolutely despise them. I was told to do them during pregnancy to help strengthen my pelvic floor muscles and help prevent incontinence. Did I do them? No. Should I have done them? Probably. If you are not familiar with Kegels, contract your pelvic floor muscles, hold for a second or two, and then relax them. These are the same muscles that start and stop the flow of urine. Do these lying down at first, 5-10 Kegels, 5-10 times a day. Even once a day will help. I am not sure I ever found the time or patience for that many. Once you get good at them, try them sitting, then standing, and then walking. You'll be a Kegel maniac in no time. Your husband might thank you as well. ;-)
3. Pelvic clock. Laying down on your back with your knees up, imagine your stomach as a clock. In the neutral pelvis position, tilt your pelvis from 12 to 6 and then back. Do this several times. Next, try the same thing, but going from 3 to 9 and then back. Do this several times. Now try the whole clock going clockwise a few times and then switch to counter clockwise, in a smooth motion.
4. The elevator. This is a tough one to understand and a tough one to do, at least for me. Laying on your back, with knees up, and with a neutral pelvis, engage the pelvic floor muscles in three distinct sections: pubic bone, belly button, rib cage. Hold at each "floor" for 10 seconds. Once at the top "floor" go back down, while holding in the same fashion. Do 5-10 of these at least once a day. The more the better!
5. Diaphragmatic breathing. This is a nice and relaxing one. In the same position (on back, knees up, neutral pelvis), put your hands on your stomach and keeping your chest still, inhale deeply with your belly, hold for 2 counts, and then exhale, sinking your belly button to the floor on the exhale for a 3 counts. Do a few of these and gradually increase the counts when you feel comfortable doing so. to make this even harder, try bringing your belly button closer to the floor on the exhales.
6. Lumbar stabilization exercises. In the same position (on back, knees up, neutral pelvis) try the following for two minutes total (trying to be as continuous as possible!!):
- Dropping knees out and then pulling them back in while keeping core as stable as possible.
- Sliding heels out and in while keeping core as stable as possible.
- Marching one foot up, then down, on both sides, while keeping core as stable as possible.
I did only these above 6 exercises for several weeks before moving on to anything more complicated or abdominally engaging. Just with these exercises, I was able to get from a more than four finger separation to a tight 3 finger.

share this on » |
{Facebook} |
{Twitter} |
{Pinterest} |


Looking good! Thanks for the tips...good idea to share!
ReplyDelete